The Ultimate Guide to Hasselback Potatoes
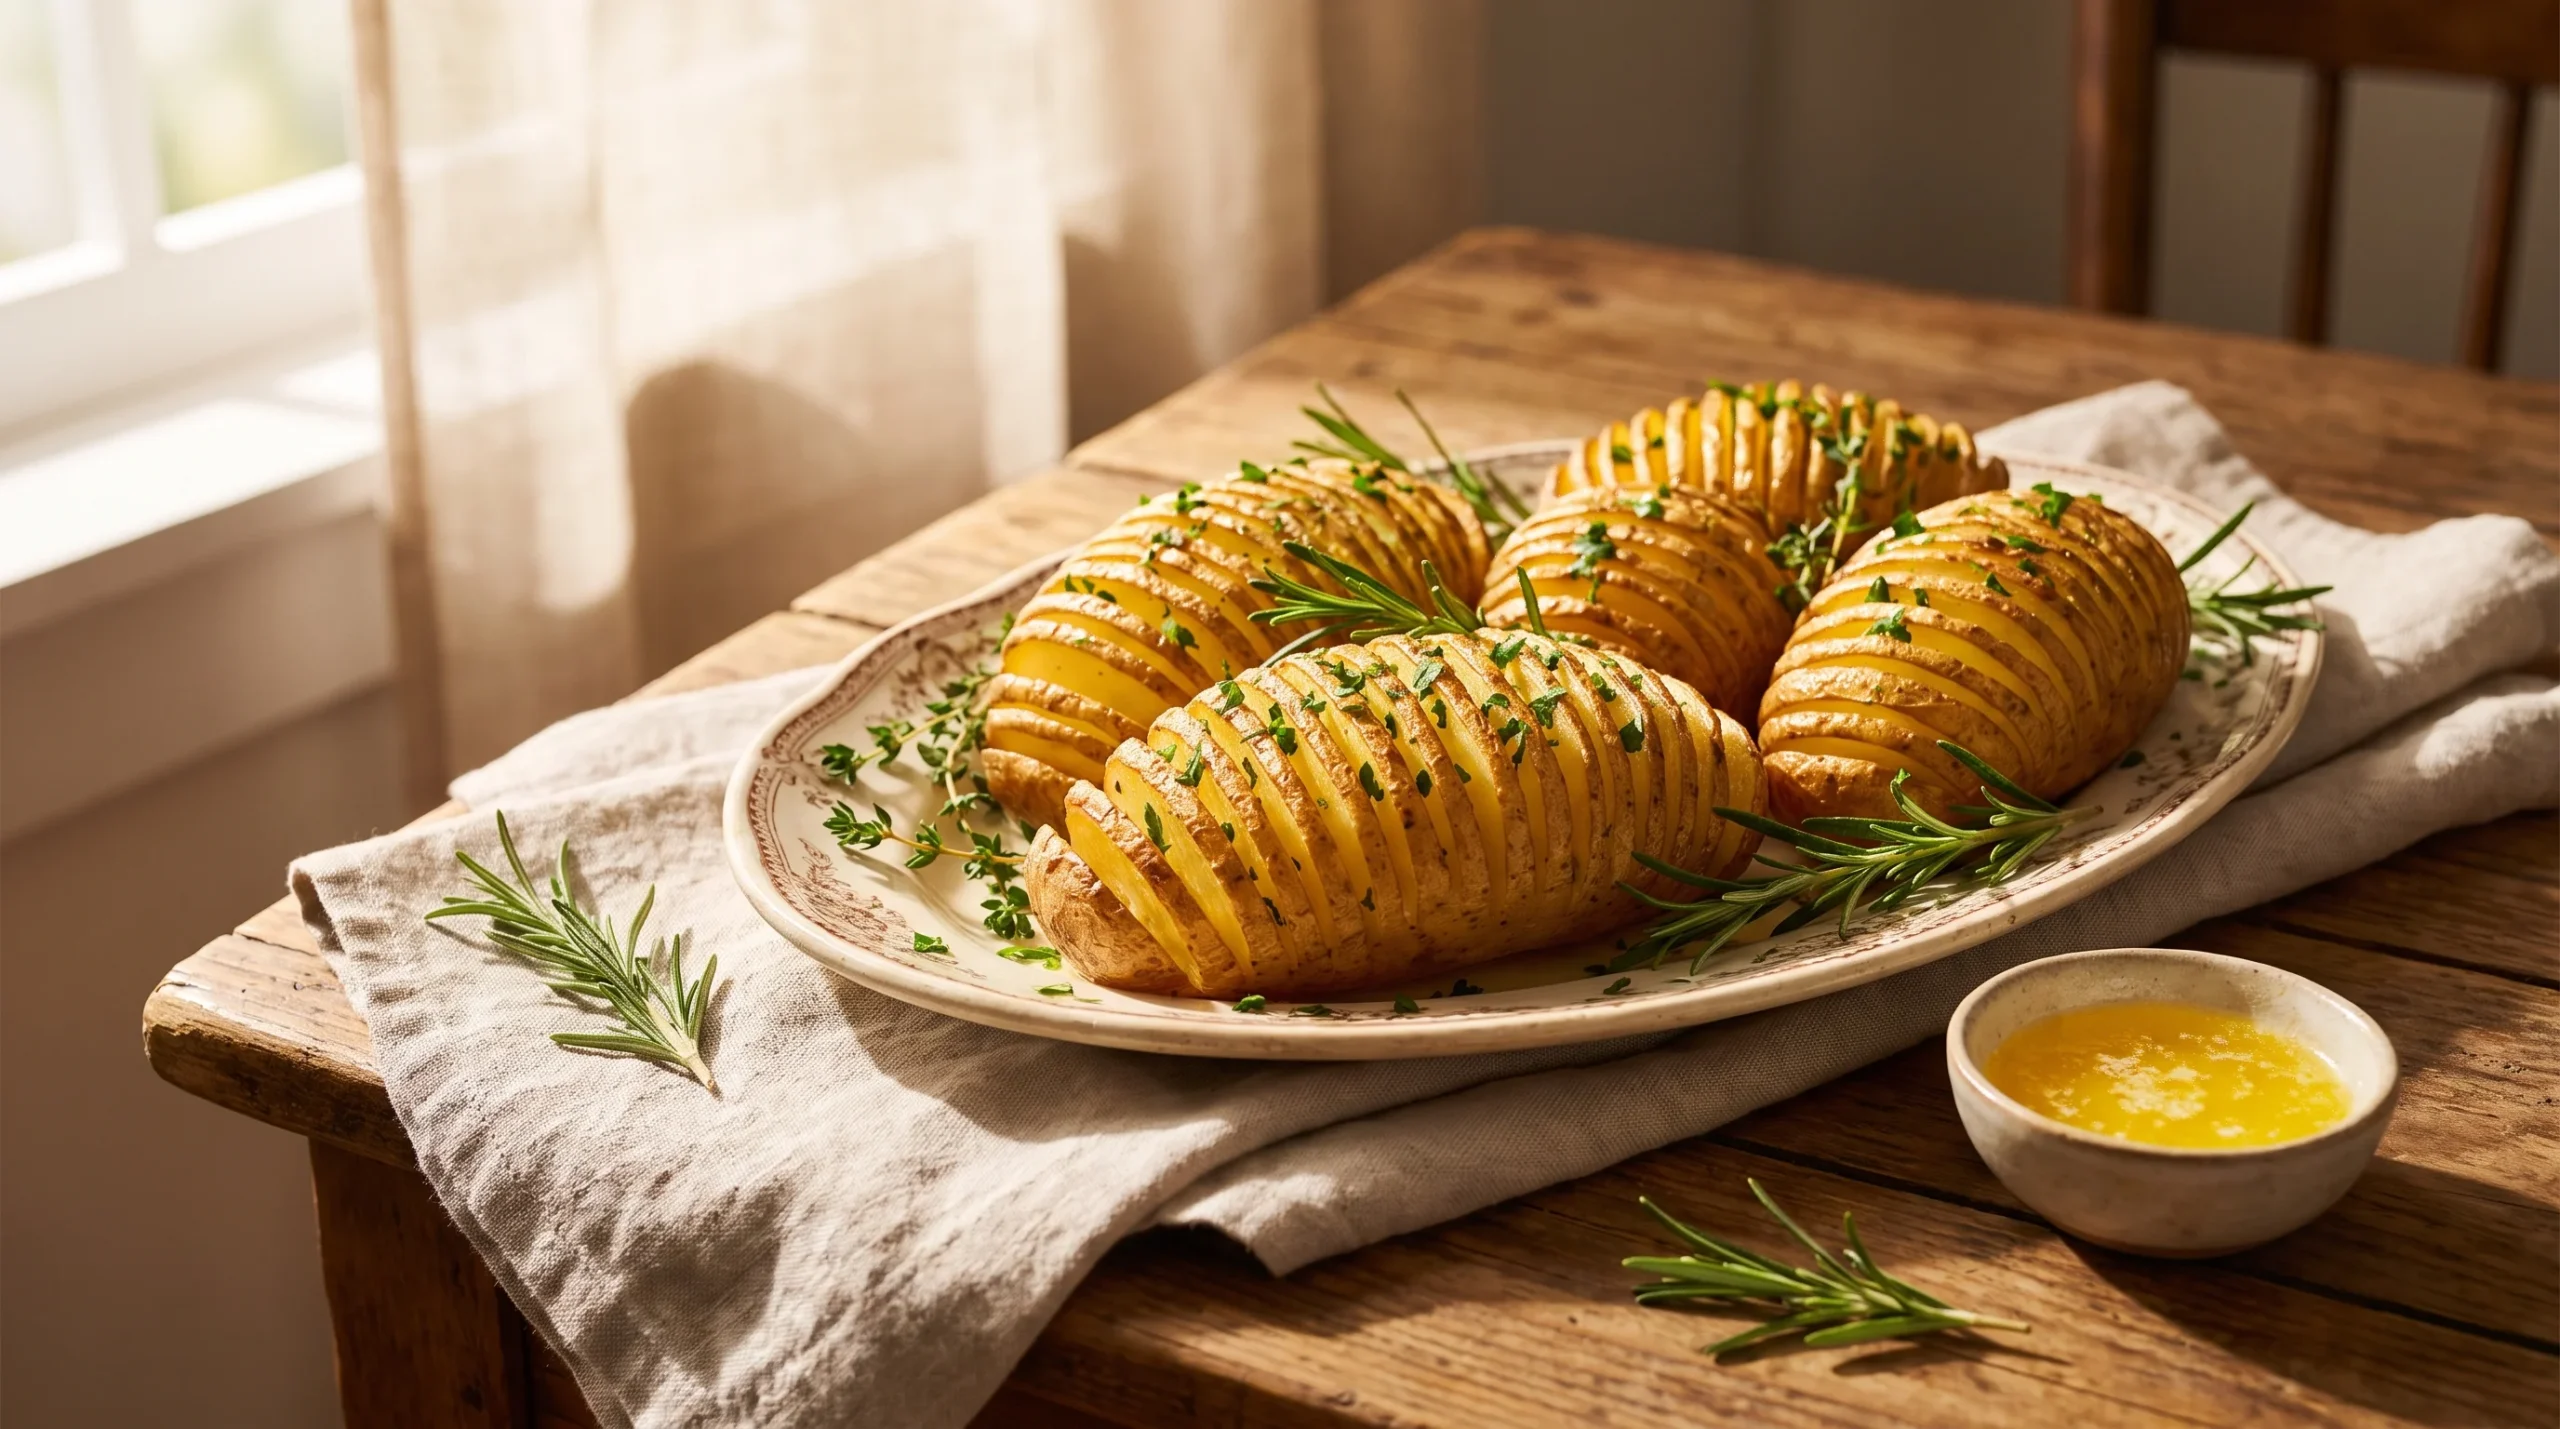
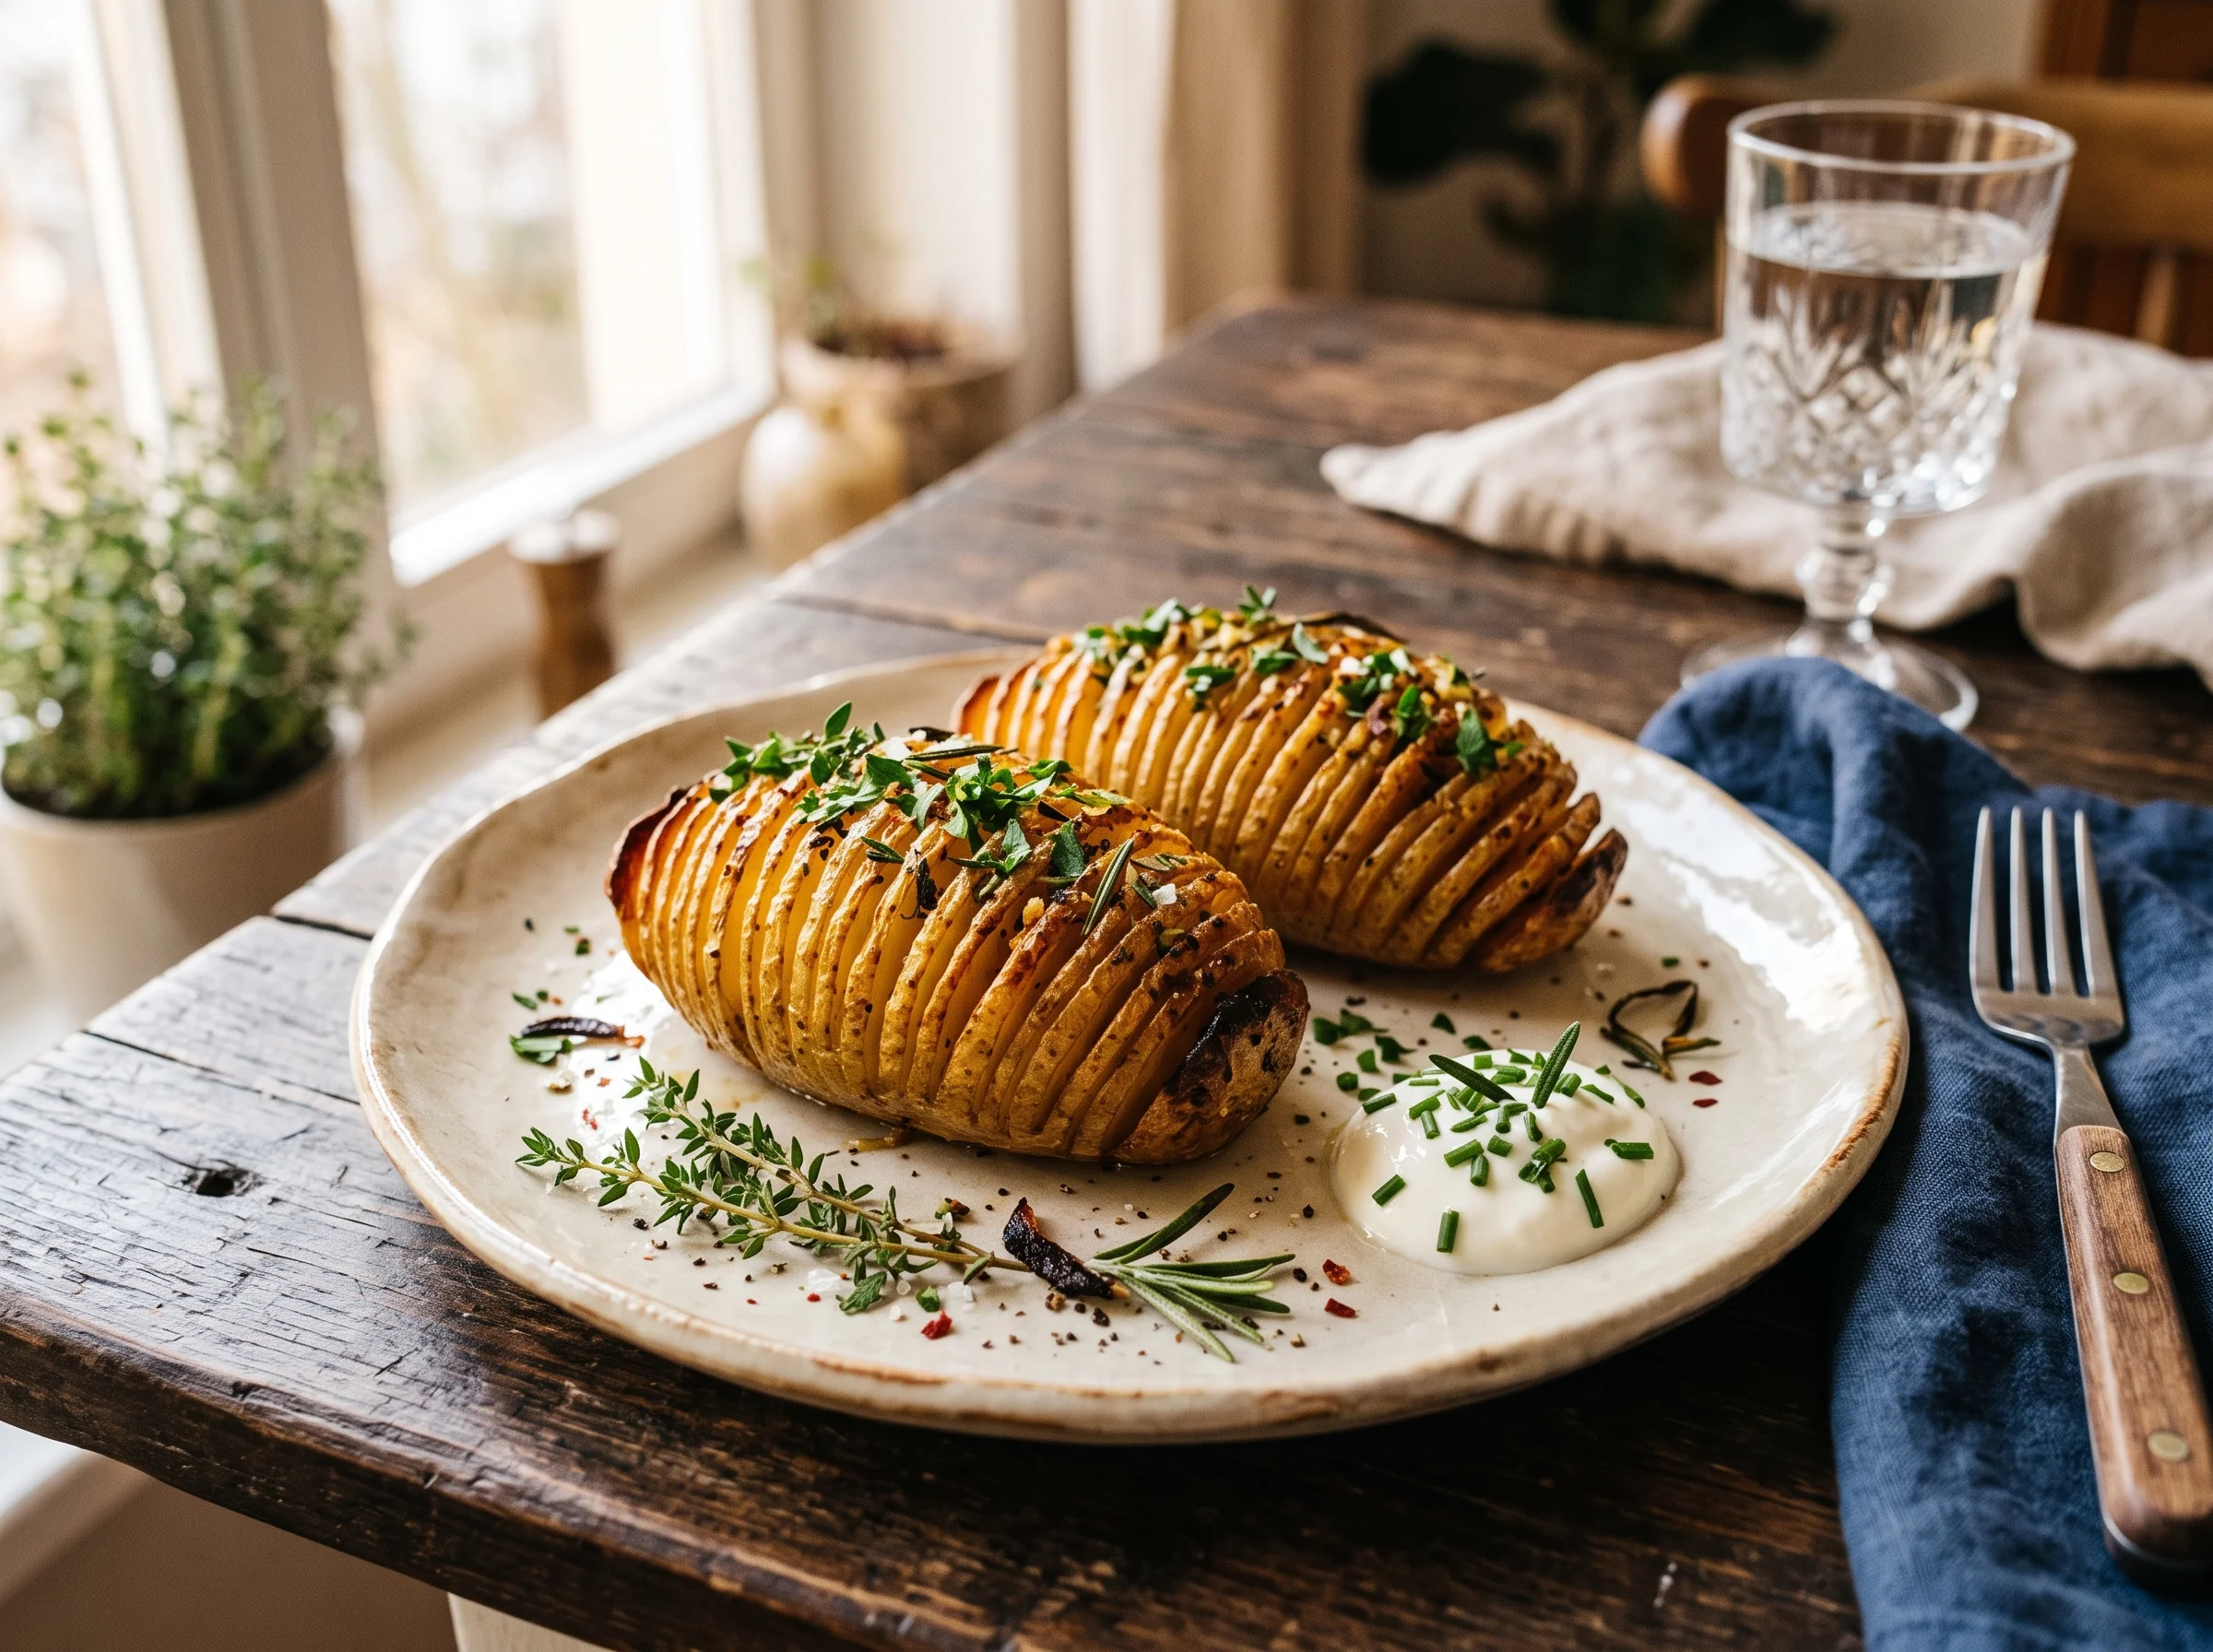
Hasselback Potatoes are the kind of side dish that makes guests think you spent hours in the kitchen, when really you just made a few smart cuts and let the oven do the heavy lifting. This guide walks you through every step, every variation, and every trick so your potatoes come out crispy, golden, and absolutely stunning every single time. Whether you’re planning a cozy weeknight dinner or gearing up for a holiday spread, this is the only Hasselback Potatoes recipe you’ll ever need.
I first made an easy Hasselback Potatoes recipe for a Thanksgiving dinner a few years back, and the reaction at the table was priceless. People kept asking, “Wait, how did you make these?” The answer is simpler than anyone expects, and that’s exactly what I love about this dish.
Master the Perfect Slice Every Time
The slice is everything with Hasselback Potatoes. Get it right, and those thin little fans open up beautifully in the oven, catching every drop of butter and crisping at every edge. Get it wrong, and you end up with chunks or, worse, a potato that falls apart before it even hits the pan.
The goal is to cut thin slices about 1/8 inch apart, stopping about 1/4 inch from the bottom of the potato. That uncut base is what holds everything together. It sounds fussy, but once you use the chopstick trick below, you’ll nail it every time.
How do I slice Hasselback Potatoes evenly
Place two chopsticks (or wooden spoon handles) flat on a cutting board, one on each side of the potato. They act as a physical stop so your knife can’t cut all the way through. This is the classic trick for Hasselback Potatoes without slicing all the way, and it works like a charm.
Use a sharp chef’s knife and work slowly. Short, deliberate cuts beat fast, sloppy ones every time. Aim for 1/8-inch spacing between each slice for maximum crispiness.
Once sliced, fan the potato open gently with your fingers to make sure the cuts are even. If any slices look too thick, carefully run the knife through again before adding any toppings.
For Hasselback Potatoes with garlic butter, melt 4 tablespoons of butter with 3 minced garlic cloves, a pinch of salt, and fresh rosemary. Use a pastry brush to work the butter deep into every single slice. Don’t just coat the top. Dig that brush in.
| Slicing Method | Difficulty | Result |
|---|---|---|
| Chopstick guide | Easy | Even slices, no risk of cutting through |
| Spoon handle guide | Easy | Same protection, slightly wider gap |
| Freehand | Intermediate | Faster but riskier for beginners |
If you enjoy building impressive side dishes, you’ll find that the same attention to prep detail pays off with something like these homemade cheese breadsticks with garlic butter, which pair beautifully with a full holiday spread.
Why Your Potato Choice Makes All the Difference
Not all potatoes behave the same in the oven. Choosing the wrong variety can leave you with a gummy interior and limp edges instead of that iconic crispy fan. The good news is that the best potatoes for this recipe are affordable and easy to find at any grocery store.
For Hasselback Potatoes with cheese and crispy edges, starchy varieties win every time. They dehydrate slightly as they roast, which is exactly what creates that crunchy exterior you’re after.
What kind of potatoes are best for Hasselback Potatoes
Russet potatoes are the gold standard. Their high starch content crisps up beautifully at high heat, and their oblong shape makes them easy to slice evenly. A medium russet weighing around 8-10 ounces is the ideal size for a single serving.
Yukon Gold potatoes are the runner-up. They have a naturally buttery flavor and a creamier interior, which many people prefer. The downside is they won’t get quite as crispy on the edges. But if crispy is your main goal, stick with russets.
| Potato Type | Texture Inside | Crispiness | Best For |
|---|---|---|---|
| Russet | Fluffy, starchy | Very crispy | Classic Hasselback Potatoes |
| Yukon Gold | Creamy, buttery | Moderately crispy | Cheese-topped variations |
| Red potatoes | Waxy, dense | Minimal crisping | Not recommended |
Whatever potato you pick, size consistency matters. If you’re cooking four potatoes at once, choose ones that are roughly the same size so they all finish at the same time. Uneven sizing means some will be overdone while others are still firm in the middle.
According to USDA FoodData Central potato nutrient data, a medium russet potato provides about 168 calories, 38 grams of carbohydrates, and nearly 5 grams of protein before any toppings, making it a naturally hearty base for this side dish.
Save this pin for busy weeknights or holiday planning sessions. You’ll come back to it every single November and December, especially once you realize how quickly these come together.
Crispy Outside, Tender Inside: Air Fryer Wins
The oven is the traditional method, and it’s wonderful. But Hasselback Potatoes in air fryer produce an insanely crispy exterior in significantly less time. If you’re cooking for two or three people, the air fryer is honestly my go-to on any regular evening.
The circulating hot air hits every exposed slice simultaneously, which is why the results are so good. Less waiting around, same gorgeous fan effect, same buttery garlic aroma filling your kitchen.
Can I cook Hasselback Potatoes in an air fryer
Yes. Preheat your air fryer to 400°F. Prepare your potatoes exactly as you would for the oven version: sliced, dried, and brushed generously with garlic butter. Place them cut-side up in the air fryer basket with a little space between each one.
Cook for 25-30 minutes, checking at the halfway point. Open the basket, brush again with more garlic butter so every slice gets a fresh coat, then continue cooking. The result is a crispy Hasselback Potatoes in air fryer version that honestly rivals the oven in a fraction of the time.
For Hasselback Potatoes with cheese in the air fryer, wait until the last 5 minutes of cooking time before adding any cheese. Shredded gruyere, sharp cheddar, or parmesan all work beautifully. The cheese melts into every slice without burning.
The air fryer method also works great when you need a quick, impressive side alongside something like this quick ground beef dinner on a busy Tuesday night when you want dinner on the table fast without sacrificing presentation.
The Prep-Ahead Hack That Saves Thanksgiving Stress
Hasselback Potatoes for Thanksgiving are a brilliant choice, but Thanksgiving also means a packed oven and about fifteen things that all need to cook at exactly the same time. The prep-ahead method is how you keep your sanity without sacrificing a single thing on the table.
The strategy is simple: do all the slicing and initial seasoning the night before. Let the oven handle the actual cooking when you’re ready to serve.
Can I make Hasselback Potatoes ahead of time
Yes, absolutely. Slice your potatoes, brush them with a light coat of olive oil (oil won’t solidify in the fridge the way butter does), and place them in an airtight container. They’ll keep in the refrigerator for up to 24 hours without any quality loss.
When you’re ready to bake, pull them from the fridge and let them sit at room temperature for about 15 minutes. Then brush with your warm garlic butter mixture and roast as normal. The Hasselback Potatoes cooking time stays roughly the same: 45-60 minutes at 400°F, depending on size.
On the big day, you can also par-bake them for 30 minutes earlier in the day, pull them out, and finish the last 20-25 minutes right before serving. This two-stage method frees up oven space and guarantees hot, crispy potatoes at the table.
If you’re building a full holiday menu, an easy pasta dinner as a starter or second side can round out the spread without adding much stress to your prep schedule.
Why Trust Me on This
I’m Layla Morgan, part of the nemo recipes team, and I specialize in quick, wholesome dinner recipes that work for real families on real schedules. Hasselback Potatoes have been in my regular rotation for years because they look fancy, taste incredible, and take almost no active effort once you’ve got the slicing down.
I’ve tested this recipe with russets, Yukons, in the oven, in the air fryer, with parmesan, with cheddar, and with every herb in the cabinet. What you’re reading below is the version that consistently gets the best results.
For other impressive-yet-simple recipes from the nemo recipes kitchen, check out the sourdough French toast brunch recipe that has become one of our most-shared weekend morning treats.
Hasselback Potatoes Recipe
Prep Time: 15 minutes | Cook Time: 50 minutes | Total Time: 65 minutes | Servings: 4
Ingredients
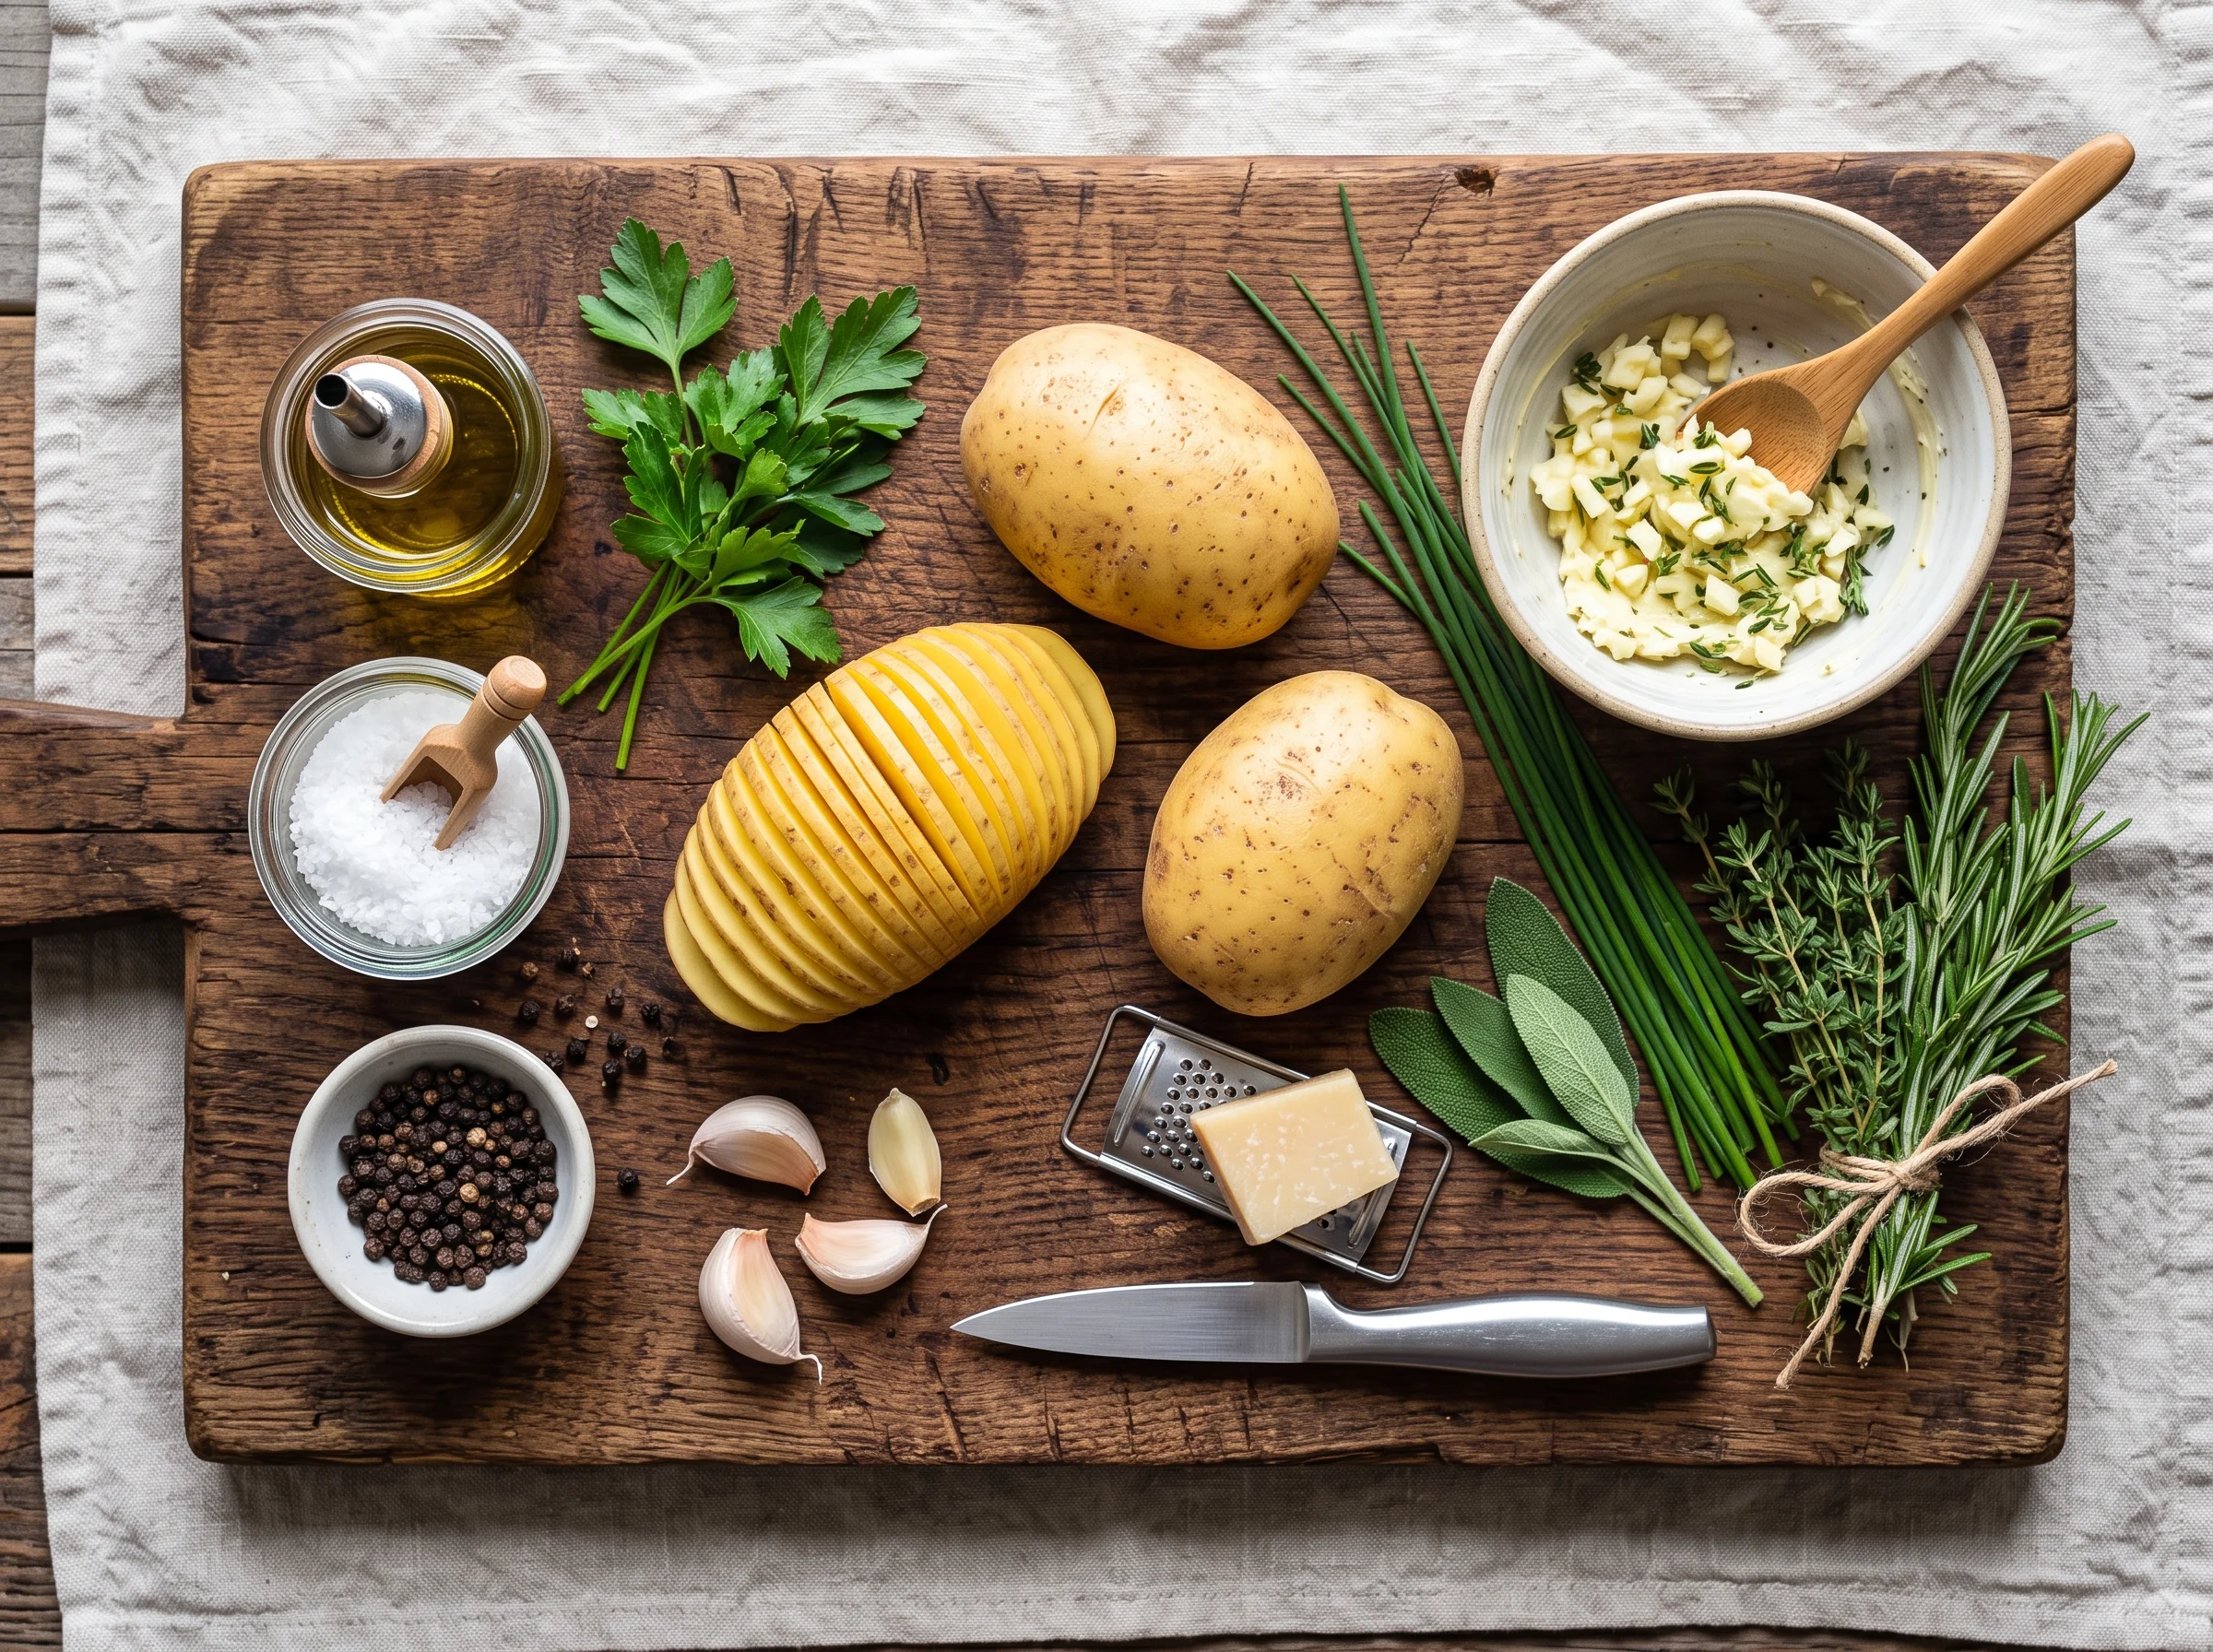
- 4 medium russet potatoes (about 8-10 oz each)
- 4 tablespoons unsalted butter, melted
- 2 tablespoons olive oil
- 3 cloves garlic, minced
- 1 tablespoon fresh rosemary, finely chopped (or 1 tsp dried)
- 1 teaspoon kosher salt
- 1/2 teaspoon black pepper
- 1/2 cup shredded gruyere or sharp cheddar (optional)
- Sour cream and fresh chives for serving
Instructions
- Preheat your oven to 400°F. Line a rimmed baking sheet with parchment paper or aluminum foil.
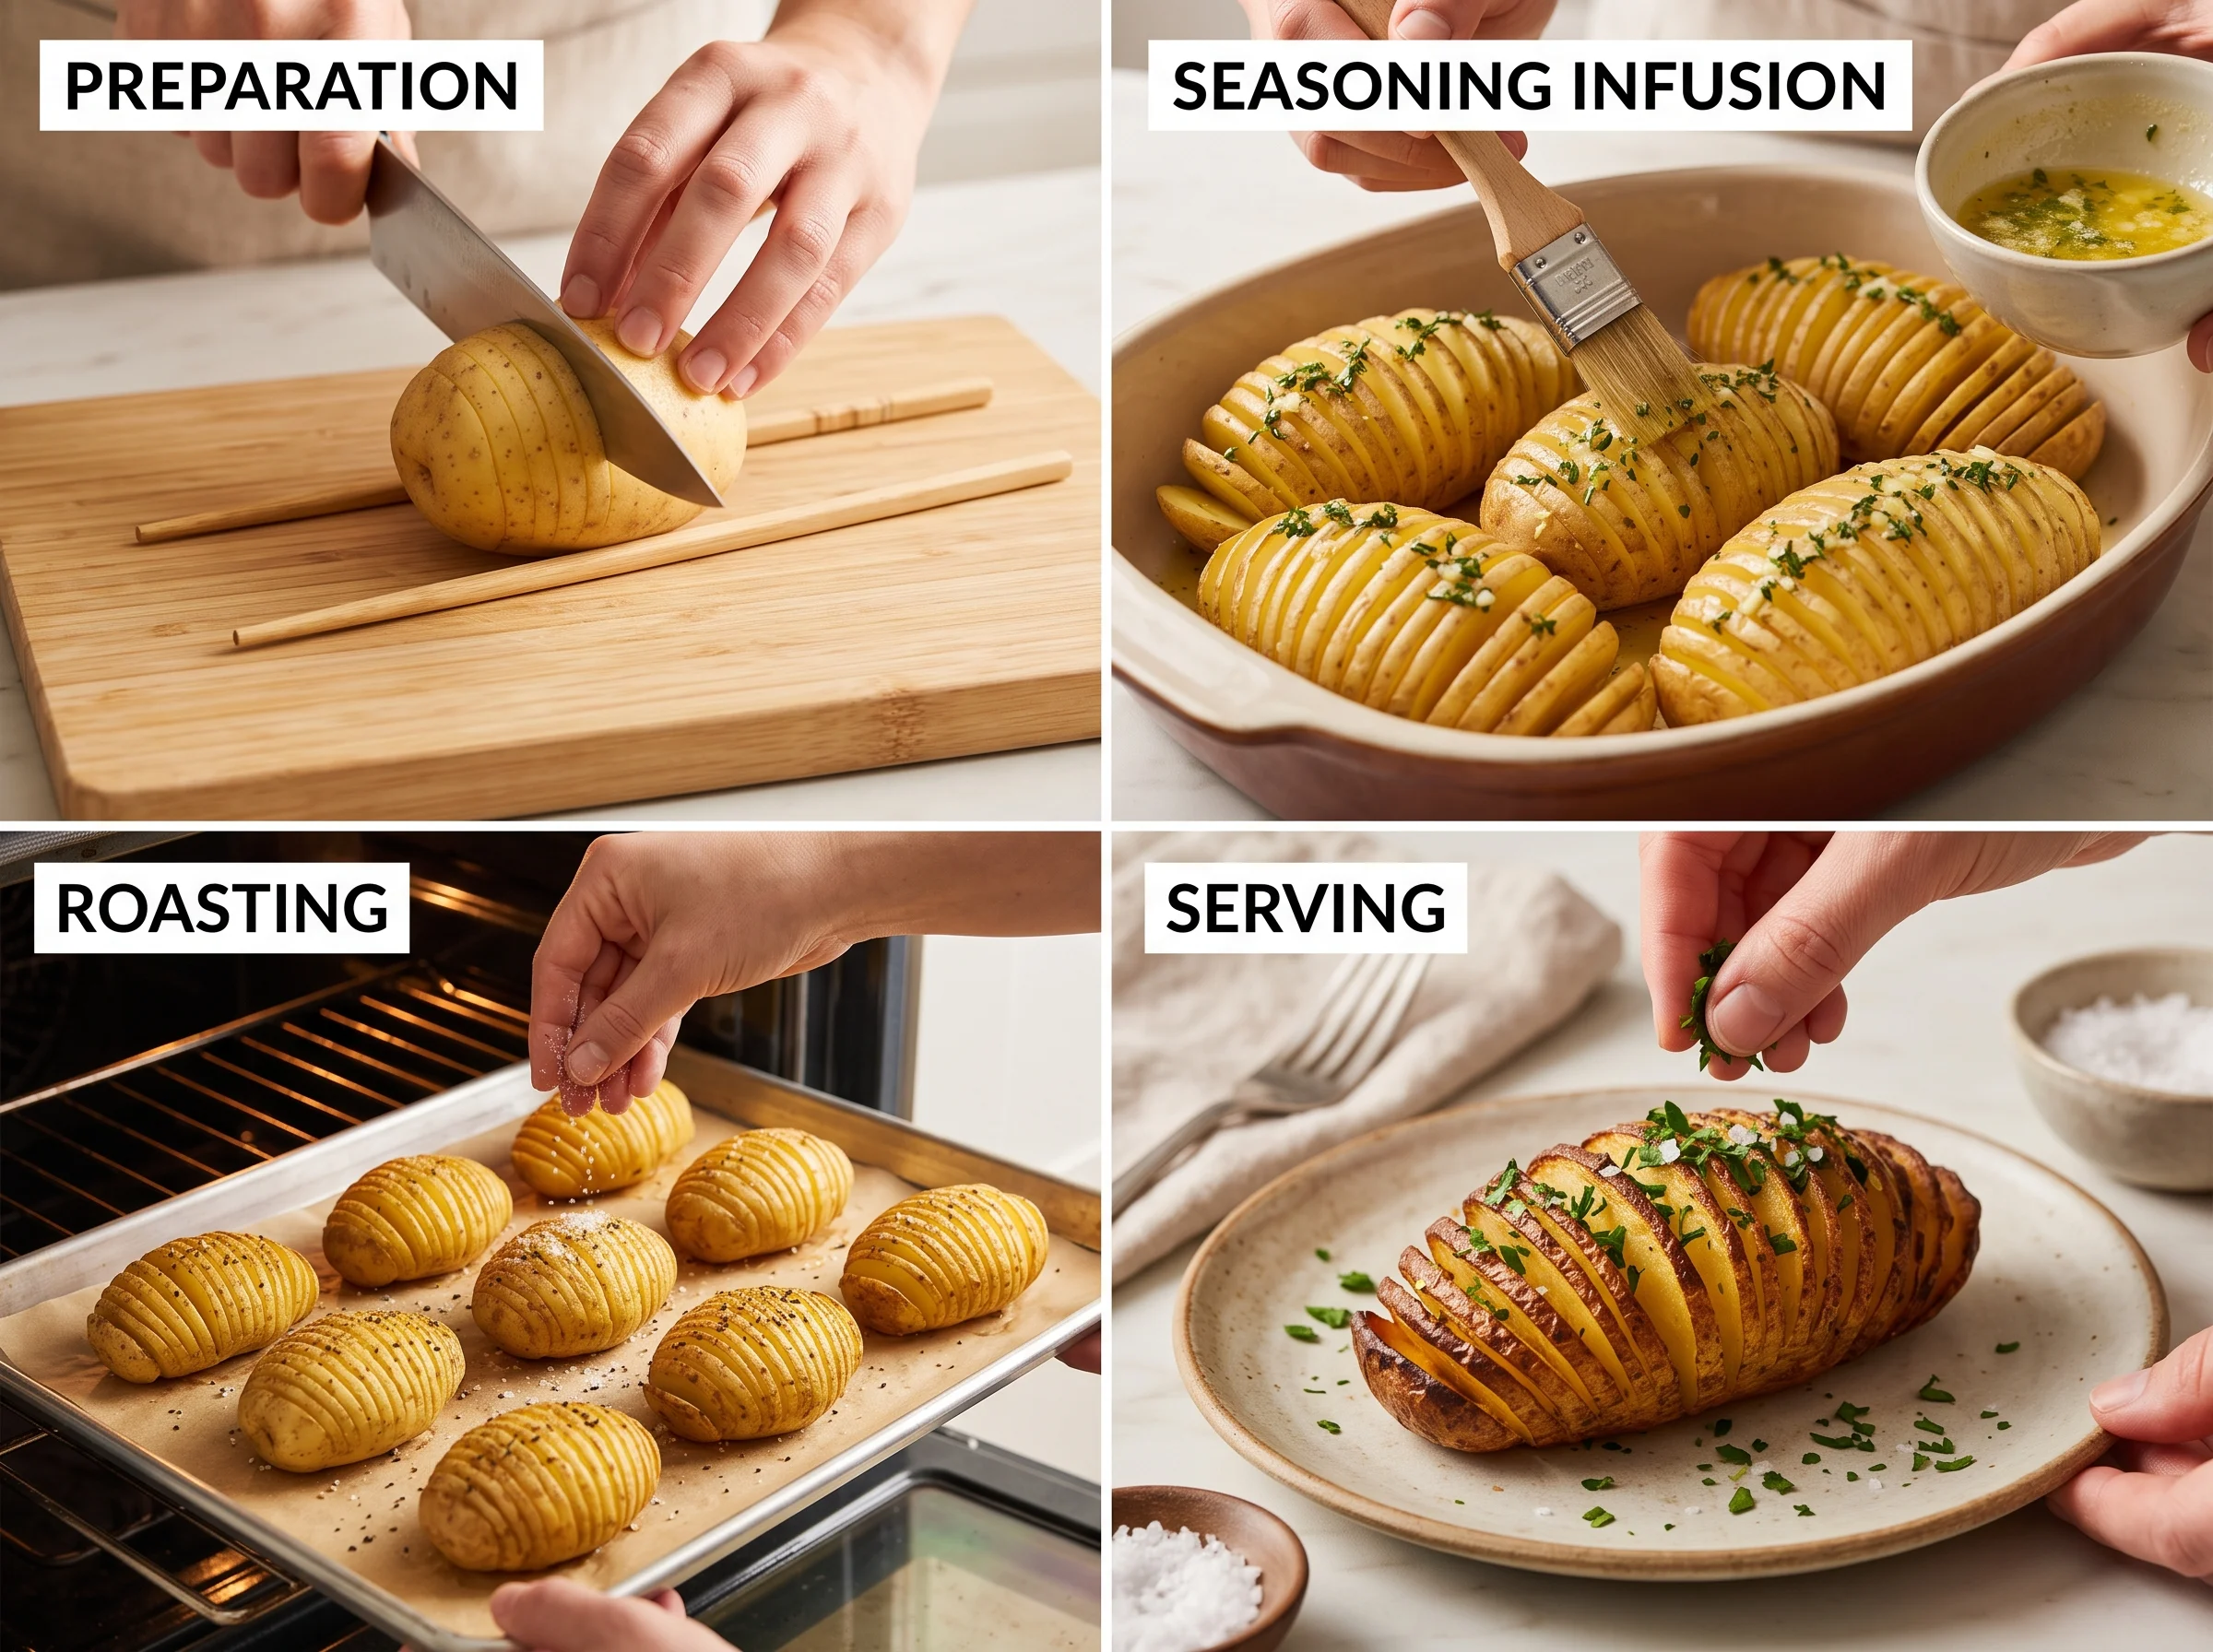
- Prepare the potatoes: Scrub and dry each potato thoroughly. Place one potato between two chopsticks or wooden spoon handles on your cutting board.
- Slice the potatoes: Using a sharp knife, make cuts straight down through the potato every 1/8 inch, stopping when the knife hits the chopsticks. You should have 20-25 slices per potato, with the base intact.
- Make the garlic butter: Combine melted butter, olive oil, minced garlic, rosemary, salt, and pepper in a small bowl. Stir well.
- Season generously: Place sliced potatoes on the prepared baking sheet. Use a pastry brush to push the garlic butter mixture deep into every slice. Use about half the mixture now.
- First bake: Roast for 30 minutes. Remove from oven and brush again with remaining garlic butter, working it into any slices that have opened up further.
- Finish baking: Return to oven for another 20-25 minutes until the edges are deeply golden and crispy and a fork slides easily into the thickest part.
- Add cheese (optional): In the last 5 minutes of baking, sprinkle shredded cheese over the top of each potato and return to oven until melted and bubbly.
- Serve immediately: Top with sour cream and fresh chives. Serve hot.
Nutrition Facts (per serving, without cheese topping)
- Calories: 310
- Carbohydrates: 40g
- Protein: 5g
- Fat: 15g
- Fiber: 3g
- Sodium: 480mg
Frequently Asked Questions
Find answers to common questions
Toppings, Variations, and Serving Ideas
One of the best things about Hasselback Potatoes is how wildly customizable they are. The base recipe is just the canvas.
Here are some of the most popular variations worth trying:
- Hasselback Potatoes with cheese: Gruyere, sharp cheddar, parmesan, or a mix of all three. Add in the last 5 minutes of baking.
- Hasselback Potatoes with rosemary: Tuck tiny fresh rosemary sprigs directly into the slices before baking for an herby, aromatic version.
- Loaded version: Top with crumbled bacon, shredded cheddar, sour cream, and chives after baking for a fully loaded baked potato experience.
- Pesto Hasselback: Brush with basil pesto instead of garlic butter for a bright, summery variation.
- Spicy version: Add a pinch of smoked paprika and cayenne to the butter mixture for a kick.
These potatoes pair perfectly with almost any protein. Roast chicken, grilled steak, braised short ribs, or a simple pan-seared salmon all work beautifully. For the holidays, they’re the side dish that earns its own compliments separate from the main event.
About This Recipe
This recipe was developed and tested by Layla Morgan, the dinner recipe specialist at nemo recipes. Every technique, timing, and tip in this guide has been tested multiple times in a real home kitchen. We’re committed to recipes that work the first time and every time after that. Learn more about the nemo recipes team, or contact us if you have questions or feedback. Browse more delicious recipes at nemorecipes.com!
Your turn: What’s your favorite way to make Hasselback Potatoes? Do you go classic with garlic butter, or do you pile on the cheese and bacon? Tell me in the comments below!